An In-Depth Guide of WG land meter S4(1) Normal Area Measurement
Share
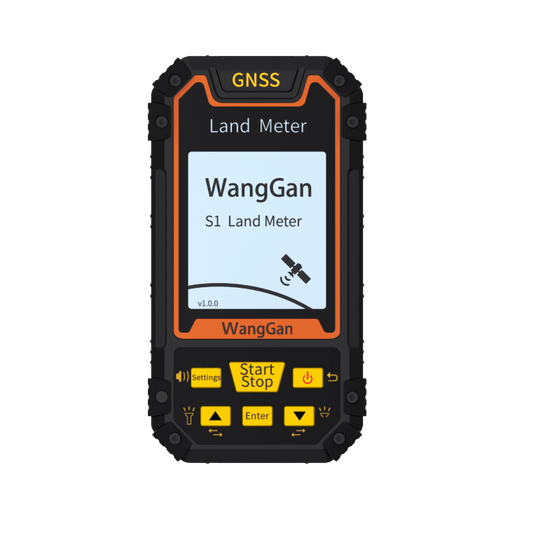
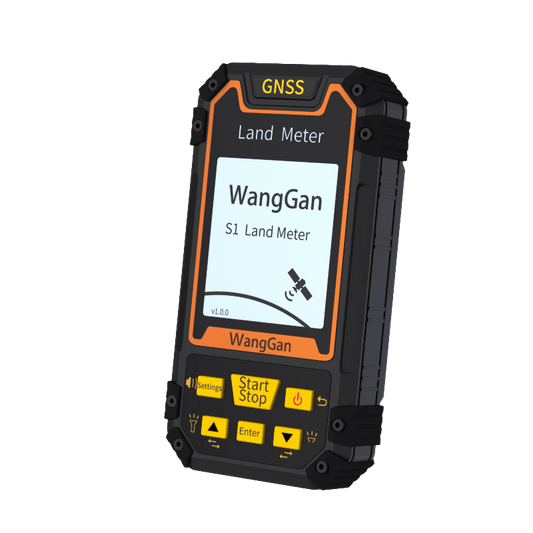
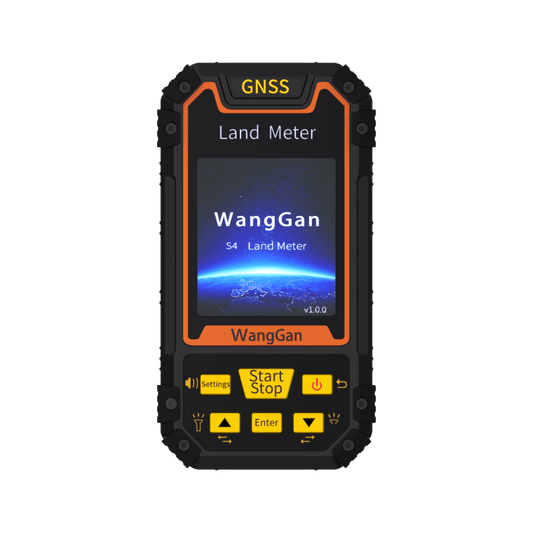
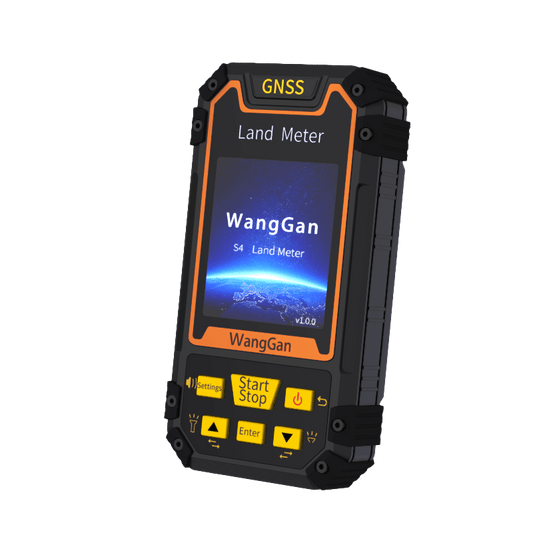
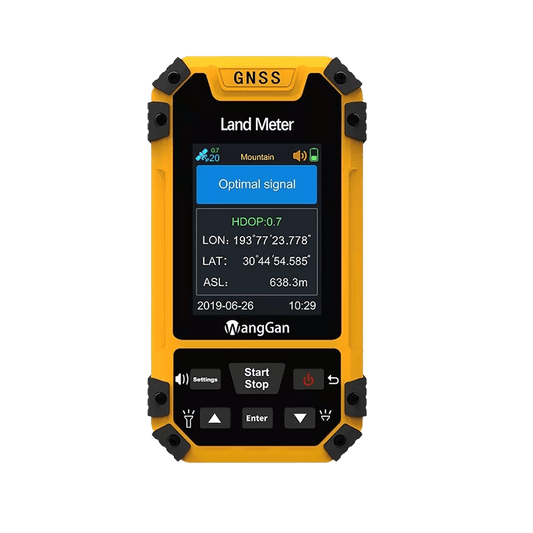
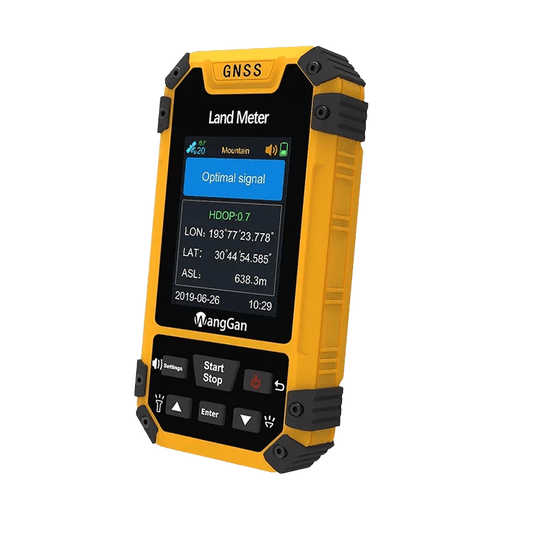
The Wanggan Land Meter S4 is a powerful tool for measuring land area, equipped with comprehensive features that adapt to various terrains. This article provides a detailed guide on how to use the land measurement function.
A. Preparation Before Use
- Ensure the device is fully charged.
- Go to an open outdoor area and press the power button for three seconds to turn on the device. The device will automatically start searching for satellites, which may take a few minutes initially—this is normal.
- Wait until the accuracy value on the main screen stabilizes below 1.0, indicating the device is ready for measurement.
B. Suitable Terrain for Basic Area Measurement Mode
The basic area measurement mode is ideal for most flat outdoor areas, such as fields or open land. Please ensure there are no significant obstructions, like tall trees or an indoor stadium roof, above the land you wish to measure.
This mode requires you to walk around the perimeter of the area, so make sure the edges are accessible (or consider using a drone to complete this task if necessary).

C. Steps for Basic Area Measurement Mode
- Wait for the main screen to display an "optimal signal" message with HDOP below 1.0.

- Use the up/down keys to select "Normal Mode" on the main screen. A popup will confirm the mode, and the current mode will also appear in small text at the top of the screen.

- Stand at the starting edge of the land you wish to measure and press "Start" to begin measuring.

- During measurement, you’ll see a real-time image of your walking path, where the red dot represents the starting point and the white line marks your track.

- Walk slowly and steadily along the land's boundary.
- After walking the entire perimeter, return to the starting point. You’ll see the path’s end and start points overlap on the screen.

- Press "Stop" to save. The screen will display the measurement summary, showing:
- a) Measured area
- b) Perimeter of the area walked
- c) Total area value
- d) Current unit area value (modifiable in settings)

- If you need to continue measuring, press "Start" again; if you’re finished, press "Back" to save the data.
D. Viewing Saved Data
- Go to "Settings" from the main menu.

- Use the up/down keys to select "Data Record," then press "Enter."

- Choose "Measuring Record" and press "Enter."
- Here, you can view all saved data. Select the data you want to view and press "Enter."

- The data summary will appear. Press the "Settings" button again to view your path. If you wish to delete the data, press "Enter."

If you have any other questions about using the device, feel free to reach out to us in chat!
